Setup
This page applies to the RESTHeart Platform Professional Editions only
To setup the Open Source version look at its repository on GitHub.
1 - Get RESTHeart Platform Trial Edition
- go to https://restheart.org/get
- fill the form choosing the free RESTHeart Platform 30 days Trial
- in few minutes you will receive an email with the download link and a Trial License Key
- click on the link in the email and download
restheart-platform-<version>.zip - unzip the package and cd into it:
$ unzip restheart-platform-<version>.zip
$ cd restheart-platform-<version>
2 - Run
$ docker-compose up -d
You need Docker v1.13 or later.
Can’t use Docker? Check Run without Docker.
3 - Accept License
This step is only required once on the first execution.
- open http://localhost:8080/license (If you don’t get any response wait few seconds for startup and retry)
- add the license key copying it from the email and and pasting it in the License Key field.

The following image shows the email with the License Key.
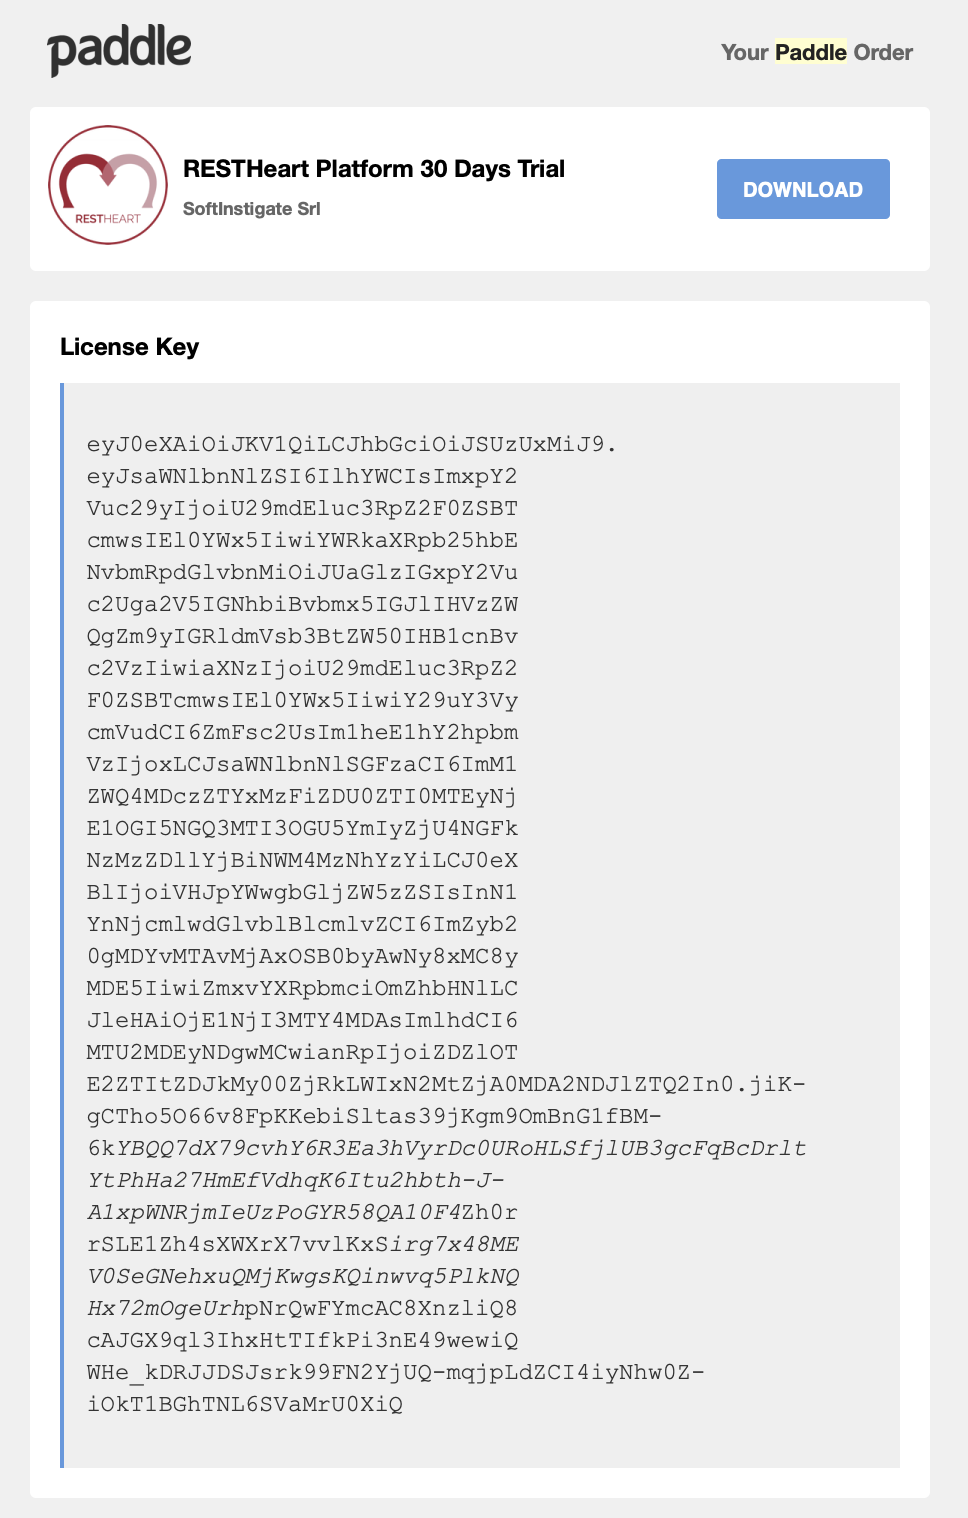
In this case, the license key to copy and paste is:
eyJ0eXAiOiJKV1QiLCJhbGciOiJSUzUxMiJ9.eyJsaWNlbnNlZSI6IlhYWCIsImxpY2Vuc29yIjoiU29mdEluc3RpZ2F0ZSBTcmwsIEl0YWx5IiwiYWRkaXRpb25hbENvbmRpdGlvbnMiOiJUaGlzIGxpY2Vuc2Uga2V5IGNhbiBvbmx5IGJlIHVzZWQgZm9yIGRldmVsb3BtZW50IHB1cnBvc2VzIiwiaXNzIjoiU29mdEluc3RpZ2F0ZSBTcmwsIEl0YWx5IiwiY29uY3VycmVudCI6ZmFsc2UsIm1heE1hY2hpbmVzIjoxLCJsaWNlbnNlSGFzaCI6ImM1ZWQ4MDczZTYxMzFiZDU0ZTI0MTEyNjE1OGI5NGQ3MTI3OGU5YmIyZjU4NGFkNzMzZDllYjBiNWM4MzNhYzYiLCJ0eXBlIjoiVHJpYWwgbGljZW5zZSIsInN1YnNjcmlwdGlvblBlcmlvZCI6ImZyb20gMDYvMTAvMjAxOSB0byAwNy8xMC8yMDE5IiwiZmxvYXRpbmciOmZhbHNlLCJleHAiOjE1NjI3MTY4MDAsImlhdCI6MTU2MDEyNDgwMCwianRpIjoiZDZlOTE2ZTItZDJkMy00ZjRkLWIxN2MtZjA0MDA2NDJlZTQ2In0.jiK-gCTho5O66v8FpKKebiSltas39jKgm9OmBnG1fBM-6kYBQQ7dX79cvhY6R3Ea3hVyrDc0URoHLSfjlUB3gcFqBcDrltYtPhHa27HmEfVdhqK6Itu2hbth-J-A1xpWNRjmIeUzPoGYR58QA10F4Zh0rrSLE1Zh4sXWXrX7vvlKxSirg7x48MEV0SeGNehxuQMjKwgsKQinwvq5PlkNQHx72mOgeUrhpNrQwFYmcAC8XnzliQ8cAJGX9ql3IhxHtTIfkPi3nE49wewiQWHe_kDRJJDSJsrk99FN2YjUQ-mqjpLdZCI4iyNhw0Z-iOkT1BGhTNL6SVaMrU0XiQ
The shown license key is not valid being expired. You need to get a fresh license as described above.
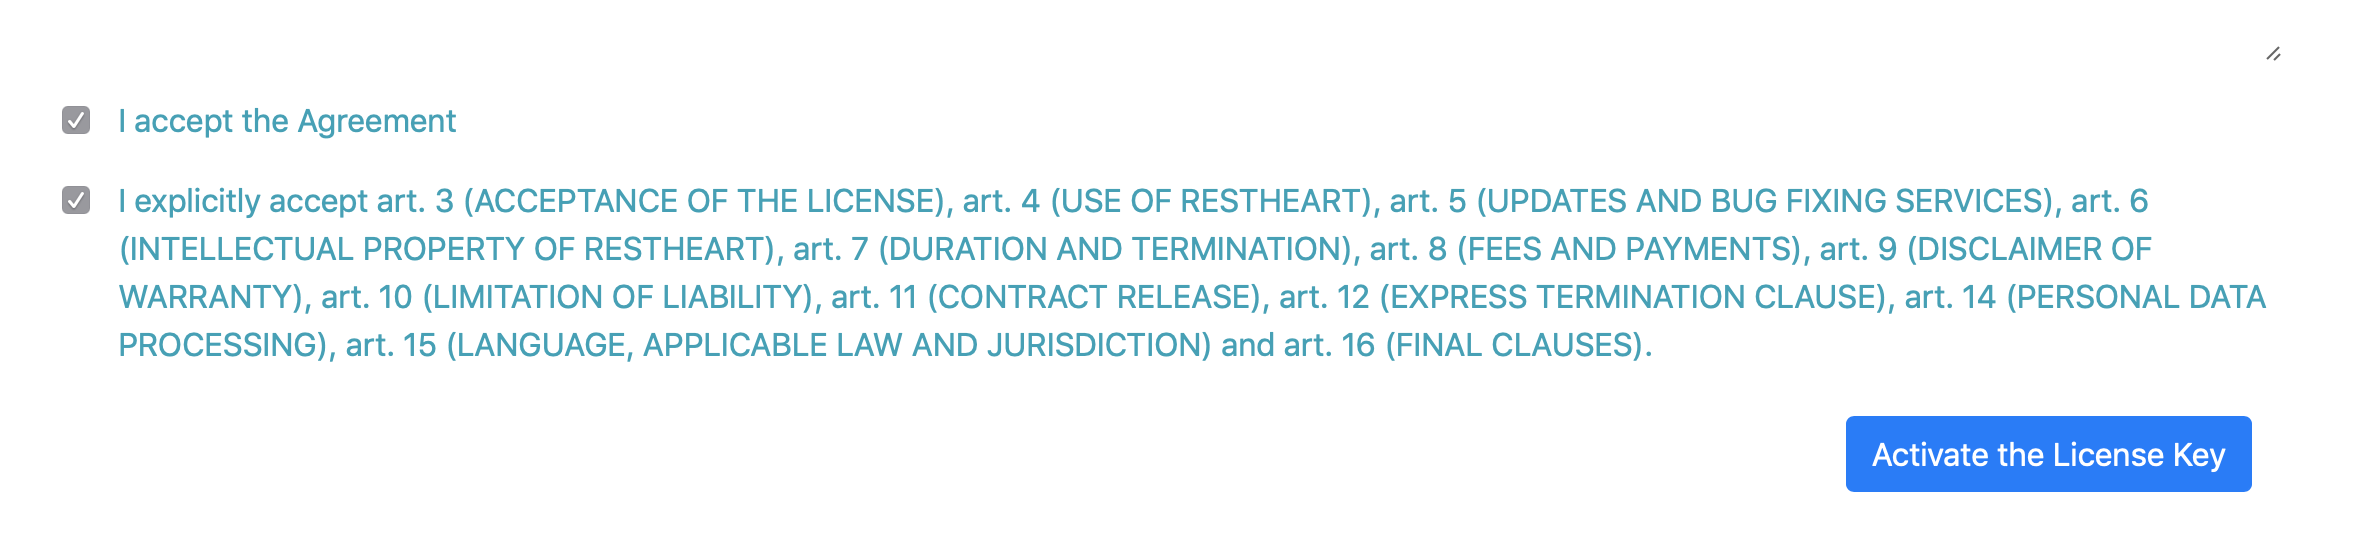
Once the license key has been added, you can accept it by checking the two checkboxes and clicking on “Activate the License Key” button.
Troubleshooting
Check if the service is up
Open http://localhost:8080/roles/admin
Insert the default admin credentials, which are:
username: admin
password: secret
You should then see the following json in your browser:
{ "authenticated": true, "roles": ["admin"] }
Log files
You find the log files in the restheart-platform-<version> directory:
- core.log
- security.log
Stop and restart the containers
- Stop running Docker containers
$ docker-compose stop
- Run again the existing Docker containers
$ docker-compose start
Complete logs, also of the MongoDB instance, are available using the following command
$ docker-compose logs -f
Clean up everything
To stop and permanently delete all services, networks and disk volumes previously created:
$ docker-compose down -v
This command deletes all data in the MongoDB database!
Please refer to the docker-compose official documentation for more.
Run without Docker
Requirements
- Java 11 and later
- MongoDB
Change Streams require MongoDB v3.6 and later configured as replica set, Transactions require MongoDB v4.0 and later configured as replica set.
Run MongoDB as a Replica Set
This section describes how to run MongoDB standalone configured as a Replica Set. Refer to the MongoDB documentation for more information.
Start MongoDB passing the replSet option.
$ mongodb --fork --syslog --replSet foo
At the first run, the replica set must be initiated. Connect to MongoDB using the mongo shell:
$ mongo
Initiate the replica set as follows:
> rs.initiate()
Start restheart-platform-core
$ java -Dfile.encoding=UTF-8 -jar restheart-platform-core.jar etc/restheart-platform-core.yml -e etc/core.properties
Until version 4.1.9 the default properties file was called dafault.properties
Start restheart-platform-security
$ java -Dfile.encoding=UTF-8 -jar restheart-platform-security.jar etc/restheart-platform-security.yml -e etc/security.properties
Until version 4.1.9 restheart-platform-security.yml was not parametric and the -e etc/security.properties argument was not required.
Accept License
During the first execution you must accept the license as described above.